If you are making room for a new video card, you will probably want to completely remove the video card, all of its cables, and software. Whether you are looking to install a new graphics card, or you are going to keep the older one after cleaning, this is pretty straight forward, as you will only have to re-verse the steps you took when you removed your graphics card.
If you are just cleaning the GPU, or you are replacing the GPU with one similar to your current GPU, you can skip this step entirely since you will use the same drivers you used previously. Assuming that you already had the PC turned off, you can also skip this step.
Wait thirty seconds or so, and then unplug all of your cables from the rear of the PC. It is recommended that you ensure your PC is turned off and that all cables connected to the enclosure are disconnected before opening.
Then continue unplugging power cables from the rear of the case. Once you have disconnected power from your PC, as well as all of your cables, you will want to take off the side panels of your PC case. Unplug all of the power cables, and remove any peripherals, including your mouse, USB flash drives, keyboard, monitor, etc., from the case, making sure that nothing is attached.
Push the card down hard straight down the slot until you feel it click in and is evenly inserted. Once the clips are released, or if you are holding a clip, you can now extract the GPU from the PCIe expansion slot. Press on the small plastic clips/latch at the sides, then continue pulling the PCIe cables.
You can pull out a PCIe cable by pushing down the cable clip, then gently pulling the cable out of the graphics card itself. Depending on your GPU model, you might even have a cable that goes right into your PCI slot. Depending on the GPU brand and model, you might have to plug in a power connector for your card.
Once you remove the cables from your graphics card, they are still connected to other parts of your PC. If you are going to install a different card into your computer, you will need to remove the cables in order to make room for a new card.
Once you have placed your new graphics card into your PCI-E slot, be sure to secure your new graphics card into your case using the screws that you removed from the old one. Once your old card is out and is no longer secured to the case by screws, you can push down gently on the captures on the ends of the PCI-e slots, which holds your graphics card.
You should insert your new graphics card into the PCI-e slot, as well as the old one that you removed. Look for the layer or slit you can push or pull on to free the GPU from the PCI-e slot on the PCI-e slot on the motherboard.
Next, you will want to remove a thumbscrew that holds the tab for your PCI-E slot, there might be different amounts of screws. While most GPUs are attached to the motherboard through the PCI-E slots, you might need to remove the cards from their cases as well. If your monitor is attached to the case, with its outputs at the bottom, close to the PCI-e slots, then your card is the specialized card that you may want to remove.
One thing should be taken care of, but one thing to bear in mind is most laptop manufacturers solder your graphics/video card onto your motherboard, so replacing it is difficult. Removing the video card means that you are going to take apart basically the entire laptop, and be able to get everything to fit together without any problems. Removing a laptops graphics card (if it is even possible) would cause motherboard and consequently the laptop damage, so this is not recommended task.
Nothing should be hard on hardware, if you are having problems with the removal of a graphics card, forcing a lever on a PCI-Express slot which holds your computers GPU attached to your motherboard, then you are definitely doing this the wrong way. If you are using a cooler on the graphics card, you may have to take that off of the card or computer in order to remove the GPU.
If you want to be a little bit more supported, you could secure the GPU itself with the cooling fan, or with the backplate, if you have one.
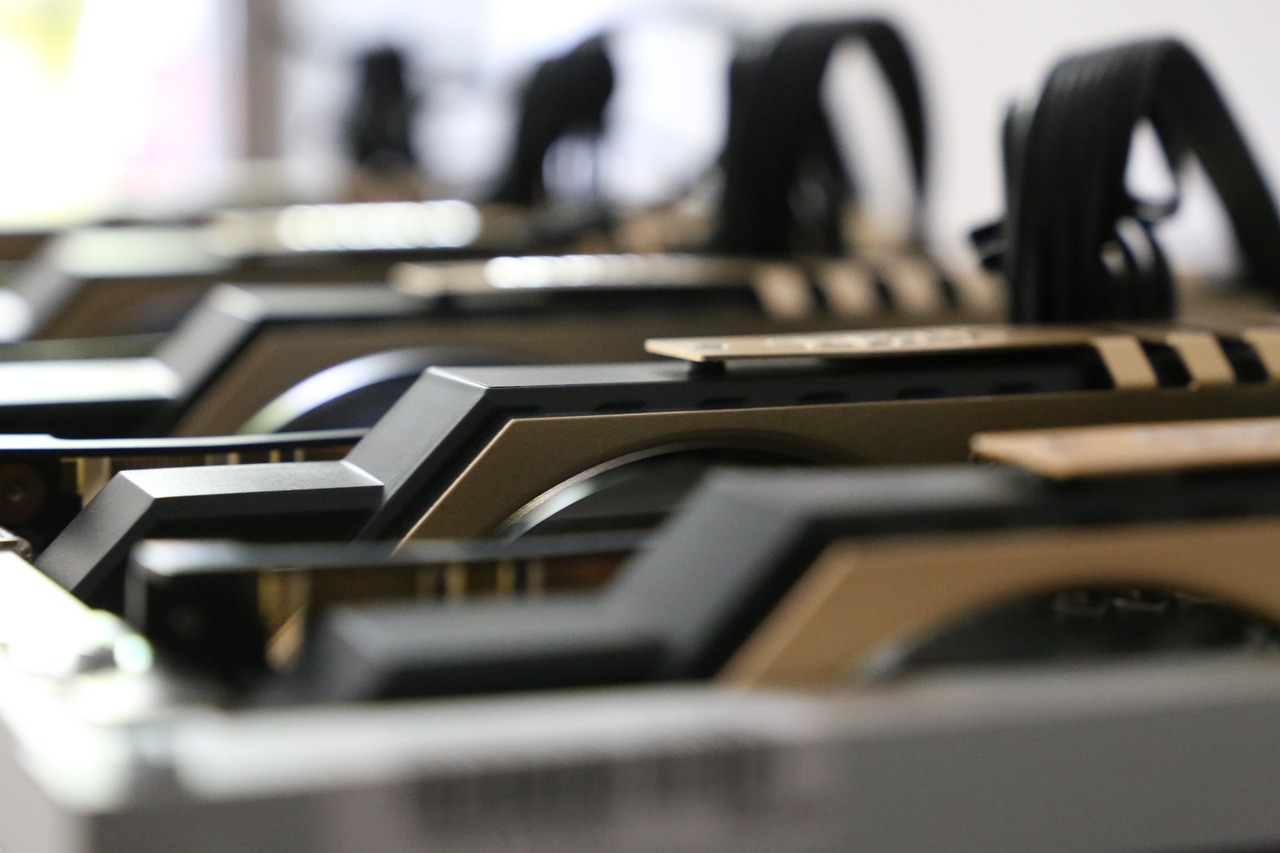
Now that you have exposed the GPU, you can now move onto unplugging the PCI Express (PCIe/PCI-E) cables currently connected to it. If your older card has one or more of these cables connected to it, continue to gently remove them before proceeding.
Your GPU is almost certainly strained to provide extra support at the rear (where its ports are located), meaning you are going to need a proper screwdriver for this part of the job, as well as some good ol handiwork. Before you can remove the GPU, you first have to push down a rather small retainer clip located on the right-hand/backside side of your PCIe x16 slot — thus, under your GPU. Next, it is to pop off the PCIe Expansion Slot Clip, which holds your GPU to the motherboard.
Secure the card to your chassis using Philips Head screws (most cards will ship with a pair). Set the screws up somewhere near the side, making them easier to locate when reinstalling your card.