First, you will want to use the compressed air can to get rid of the overwhelming amount of dust that is hanging out of your graphics card.
Instead, just use the can of compressed air, and use the cloth and Q-tips to clean as much as possible on the cards. Use compressed air to blast the dust off of what is left from wiping down with the cloth. Once removed, you can once again use a clean cloth and a Q-tip to brush off additional dust from your radiator.
If necessary, you can use Thermal Paste Remover or Isopropyl Alcohol to clean off the lids on your CPUs and heatsinks baseplates, and then allow to dry. If you have to change thermal paste, you can use a Q-tip or round brush with the alcohol to gently brush off any old thermal paste. You can use Isopropyl Alcohol to remove any stickers from your device, but use the cotton swab carefully to do this, do not allow it to bleed through.
Use a microfiber cloth, a swab, and isopropyl alcohol to wipe down the exterior of your GPU. Clean out the back of the GPU on your card using your lint-free cloth and alcohol. If GPU has thermal pad on rear side of video card, also remove with a flat-head screwdriver.
Use the flat-head screwdriver to carefully pull your video cards radiator off of the GPU chips. Remove the retention screws which hold your video cards heatsink to the GPU and the card.
Clean up the remaining surfaces on the video cards heatsink using a lint-free cloth and alcohol. You can also use the soft-cloth method to clean your fans wings, if you do not have the above mentioned hardware. Use a cotton ball dipped in alcohol to wipe down the cooling fans blades to get rid of all the gunk or mud that cannot be removed by compressed air.
Once the radiator is separated from the fan, you can use the brushes to get rid of much of the collected, caked-on dust to prevent it flying all over, and then use compressed air.
Direct compressed air to blast out of the case any dust falling on your PC or on the other components. If you are opening up a graphics card, use compressed air to blow around the interior, removing any remaining dust lurking behind GPU barriers. You might notice a bit of dust coming off your graphics card after reinstalling and turning on, but this is fine, and it is easy to clean up again with another quick blast of compressed air.
The first reason why dust may be the reason why a graphics card is overheating is because it may be getting into the vents and fans, blocking the airflow. Experiments have shown that cool air cannot efficiently pull heat away from heat sink fans in a graphics card when it is covered in dust. With its unique Dust Removal Technology, whenever a computer is booted, the cooling fans on the graphics card are reversing for 30 seconds at maximum speed.
Anti-static brushes and cloths may be helpful to remove especially stubborn dust, but for most cases compressed air is good enough to do it itself. If you are looking to get professional and make sure that all of your circuit boards are looking brand new, I suggest getting a small paintbrush and using it to help out your compressed air canister, brushing over your circuit boards as you blow in brief blasts of air to blow the loosening dust off. If the graphics card has not been cleaned for some time and dust is not coming off, you will want to use a cloth soaked with a little bit of isopropanol.
If you have removed your graphics card from the computer to repair connections or change thermal paste, for instance, you may want to perform a little more thorough cleaning than when the card was in your case. You can perform deeper cleanings on a card when it is removed from its case for whatever reason.
If you have to reapply thermal paste, or if taking off your CPU cooler makes it and the surrounding parts on your motherboard a lot easier to clean, you can gently pull off the cooler and place it to the side for cleaning on its own. As mentioned earlier, the most critical part of cleaning the PSU is to remove and properly clean the dust filter, before trying to clean the rest of the unit. The same tech that keeps the dust in will keep the debris out of the enclosure, too, so it is best to remove your filters at the beginning of your cleaning process.
You can also remove dust with an older, relatively inexpensive, vacuum. The best cleaners are those that have pressured air, and if you do not have a compressor, then the Soft Bloom will get the job done.
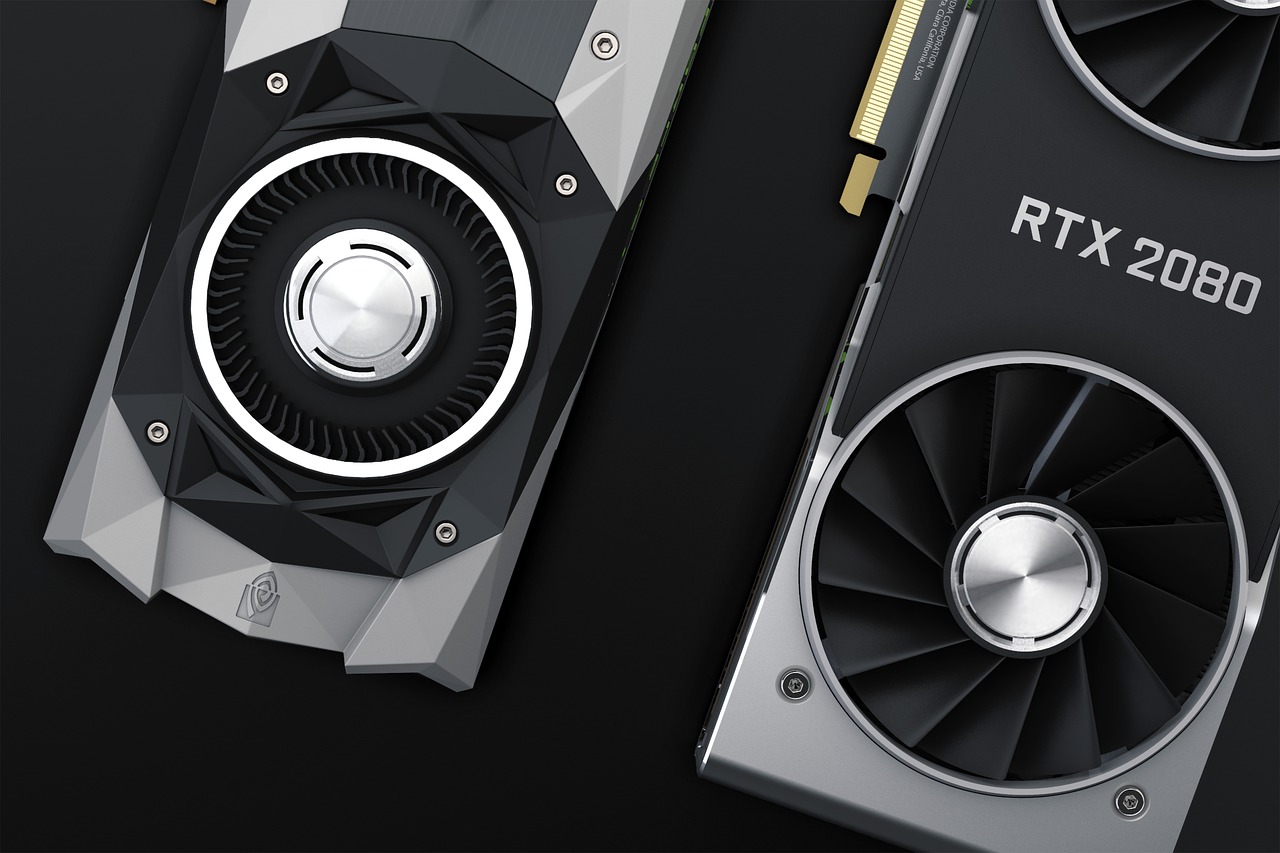
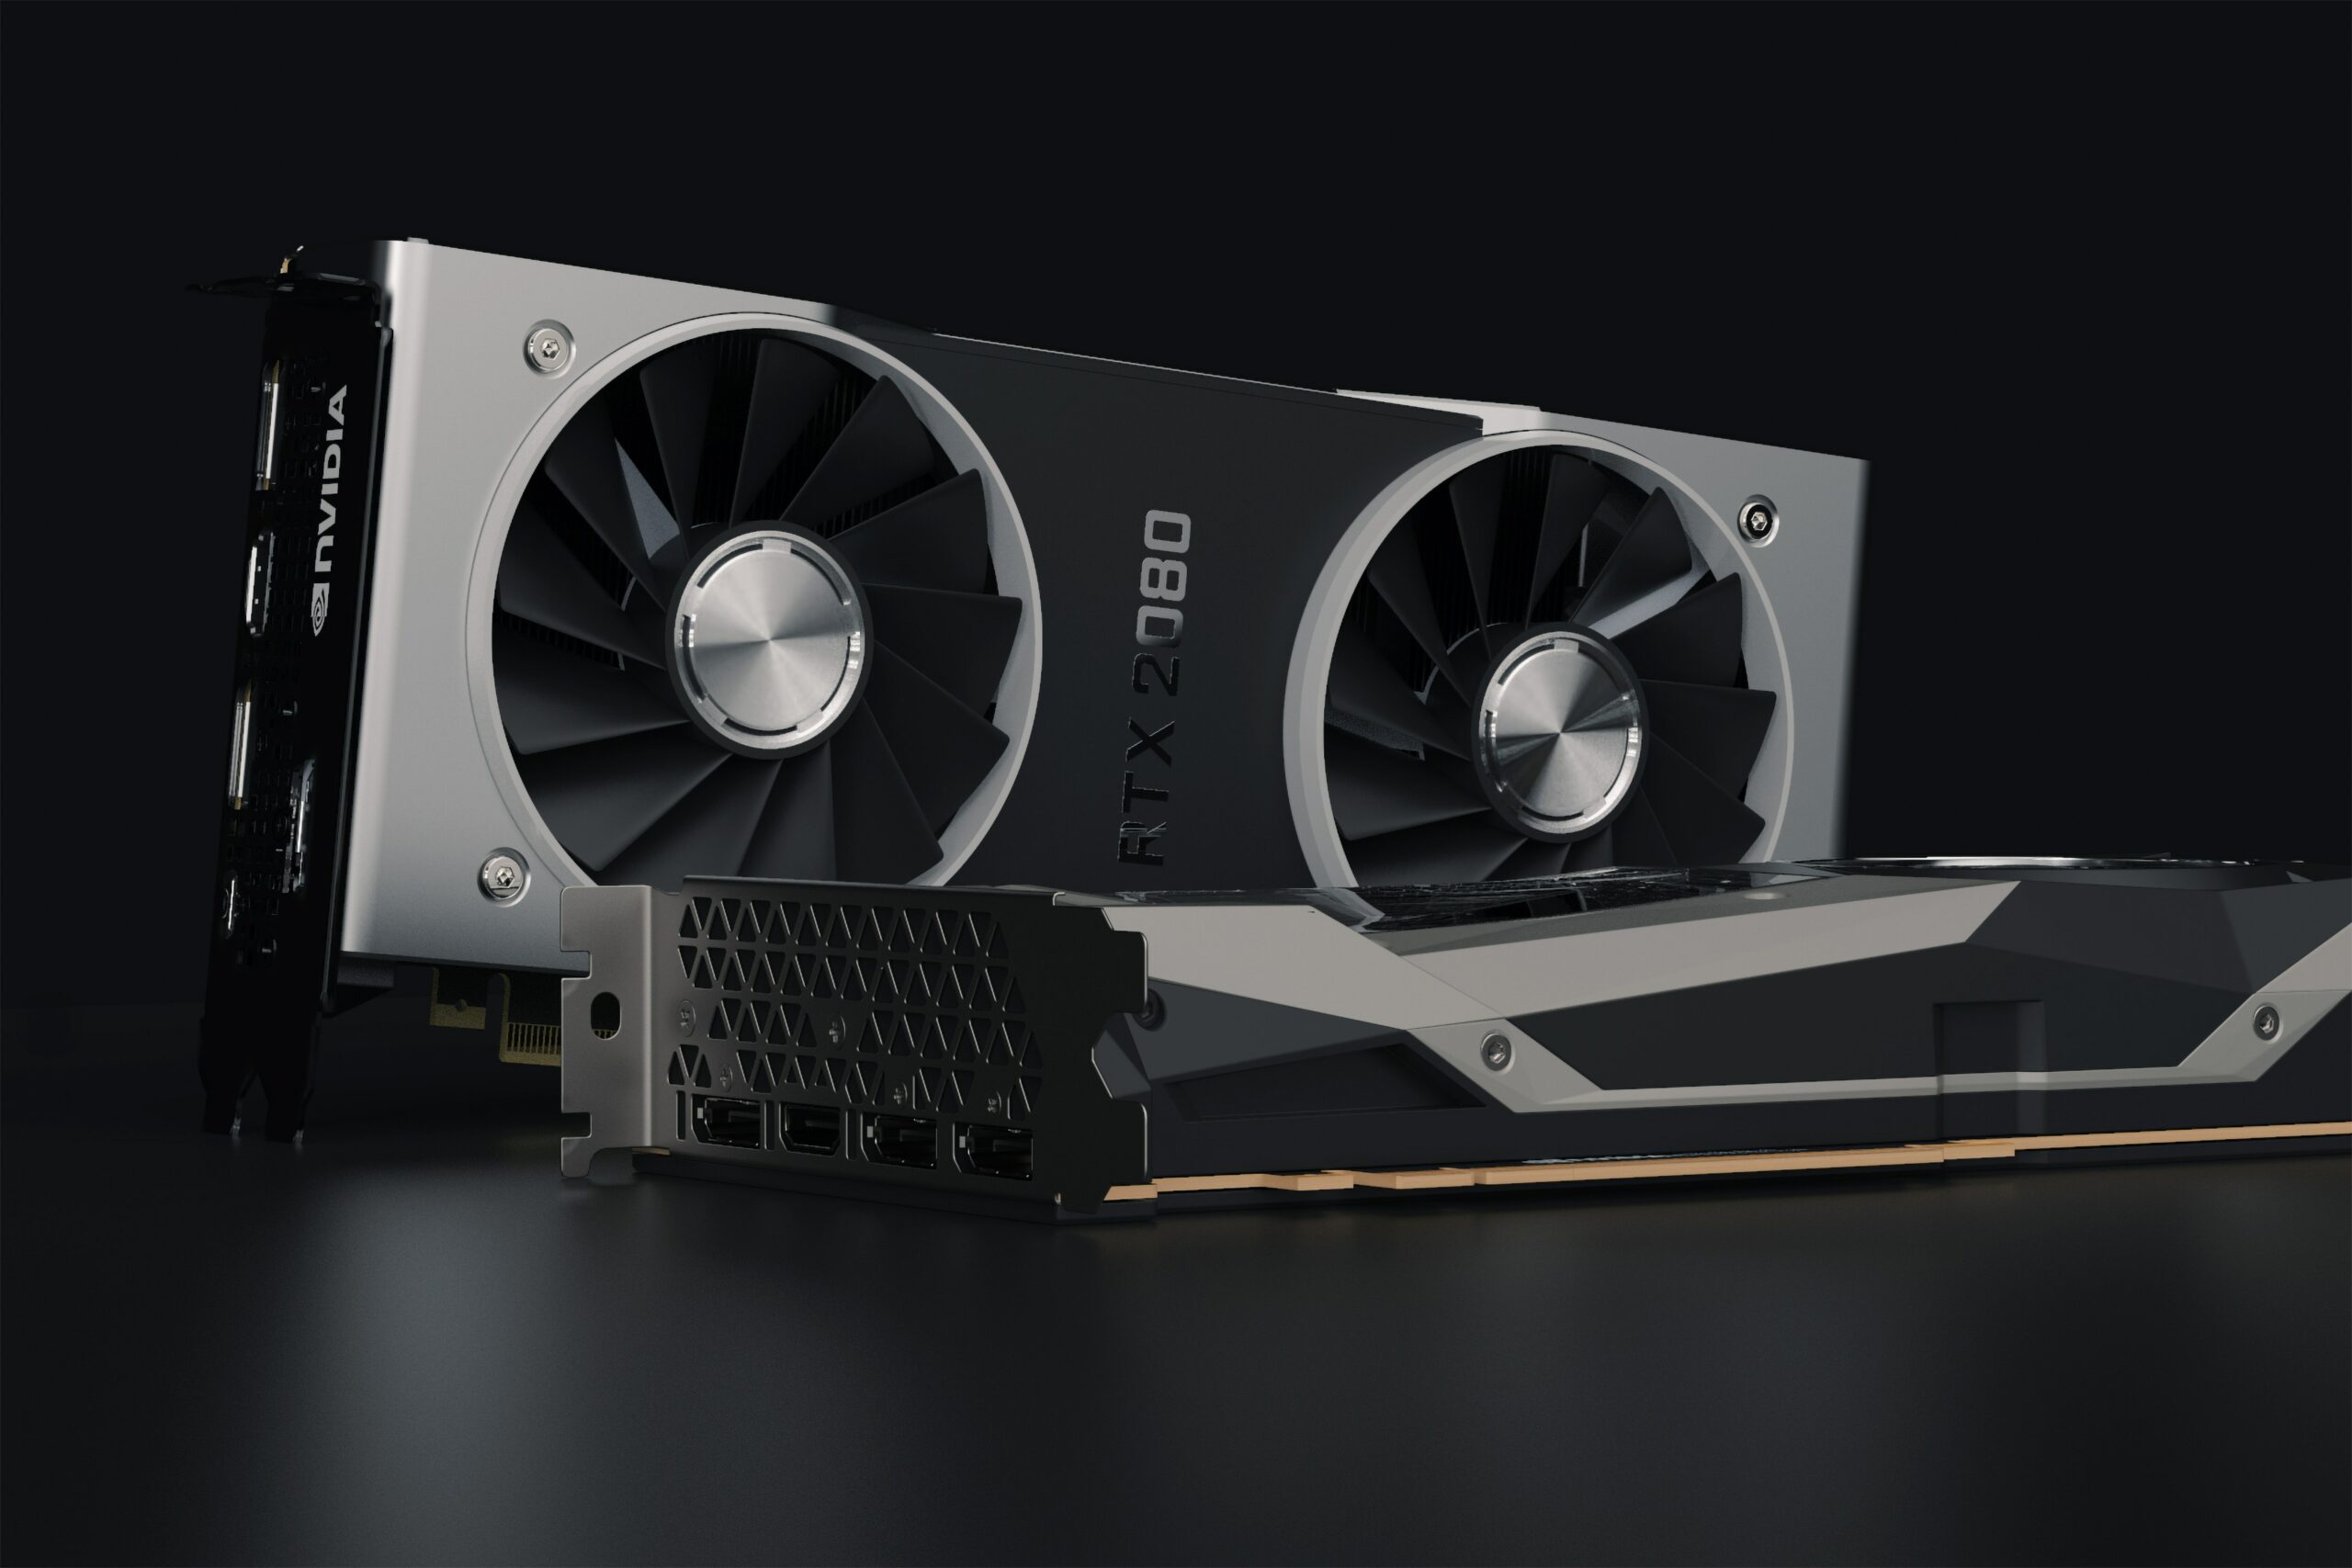
Like your RAM sticks, PC fans, and monitors, your graphics cards also can get smeary with time, and will need a little bit of scrubbing to keep them running their best. Overall, the frequency you need to clean your GPUs and CPUs depends on the dirtiness of the GPUs and CPUs, which you will notice when the temperatures are high.
For this step, just grab a piece of paper, pull off as much excess paste as you can, and remove any leftovers or most of the scuffs using a bit of paper dampened with Isopropyl Alcohol, making sure you wipe it down thoroughly. Once the paste has been cleaned off the GPU as well as the cooler, put a drop onto your IHS, the method for spreading this out is up to your personal preference since each one will tell you a different method, for me I like to use a plastic tab to evenly spread it over the whole surface of my IHS, as you can see in the picture.